
How to make a sourdough starter at home
What is a sourdough starter?
A sourdough starter is a dough made from flour and water, its fermented under a controlled environment and is filled with natural wild yeast and a bacteria called lactobacilli. A starter is full of live bacteria and yeast! There are over 50 million yeasts and 5 billion lactobacilli bacteria in every teaspoon of starter dough.
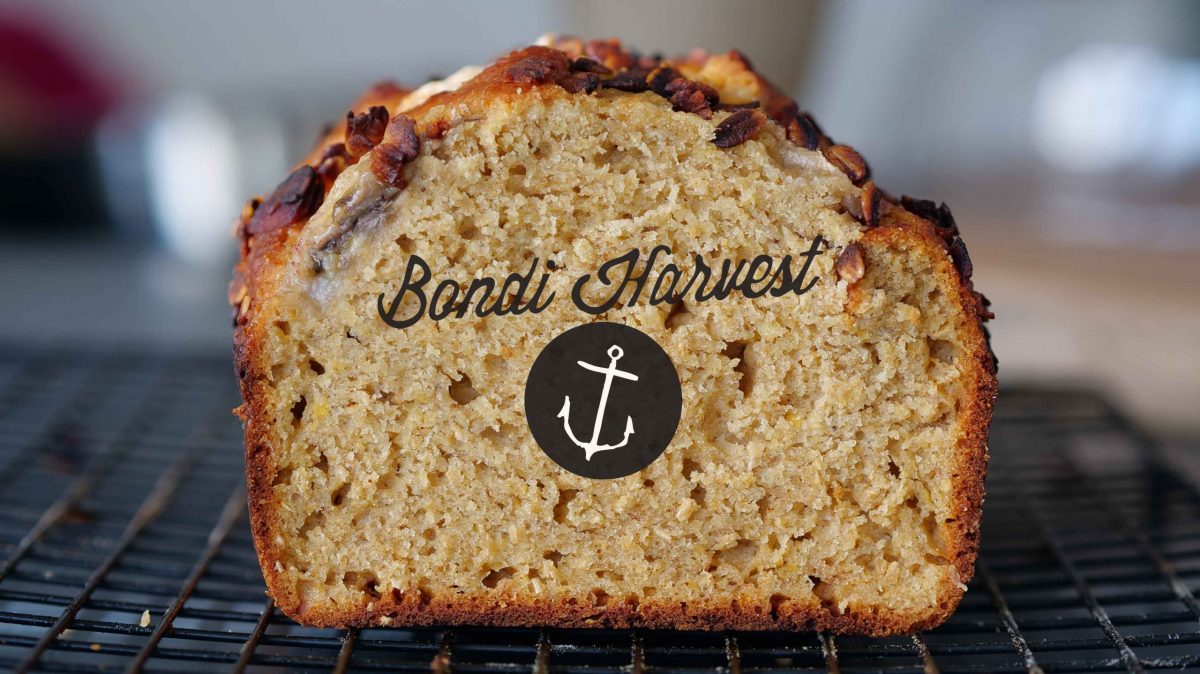
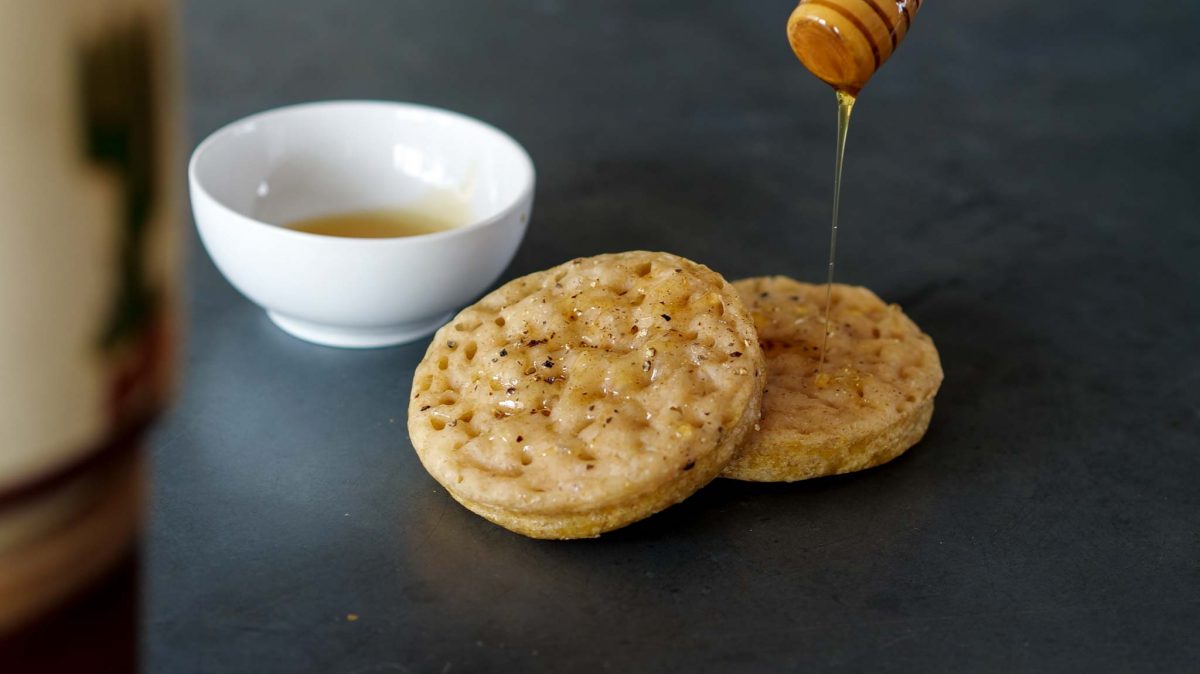
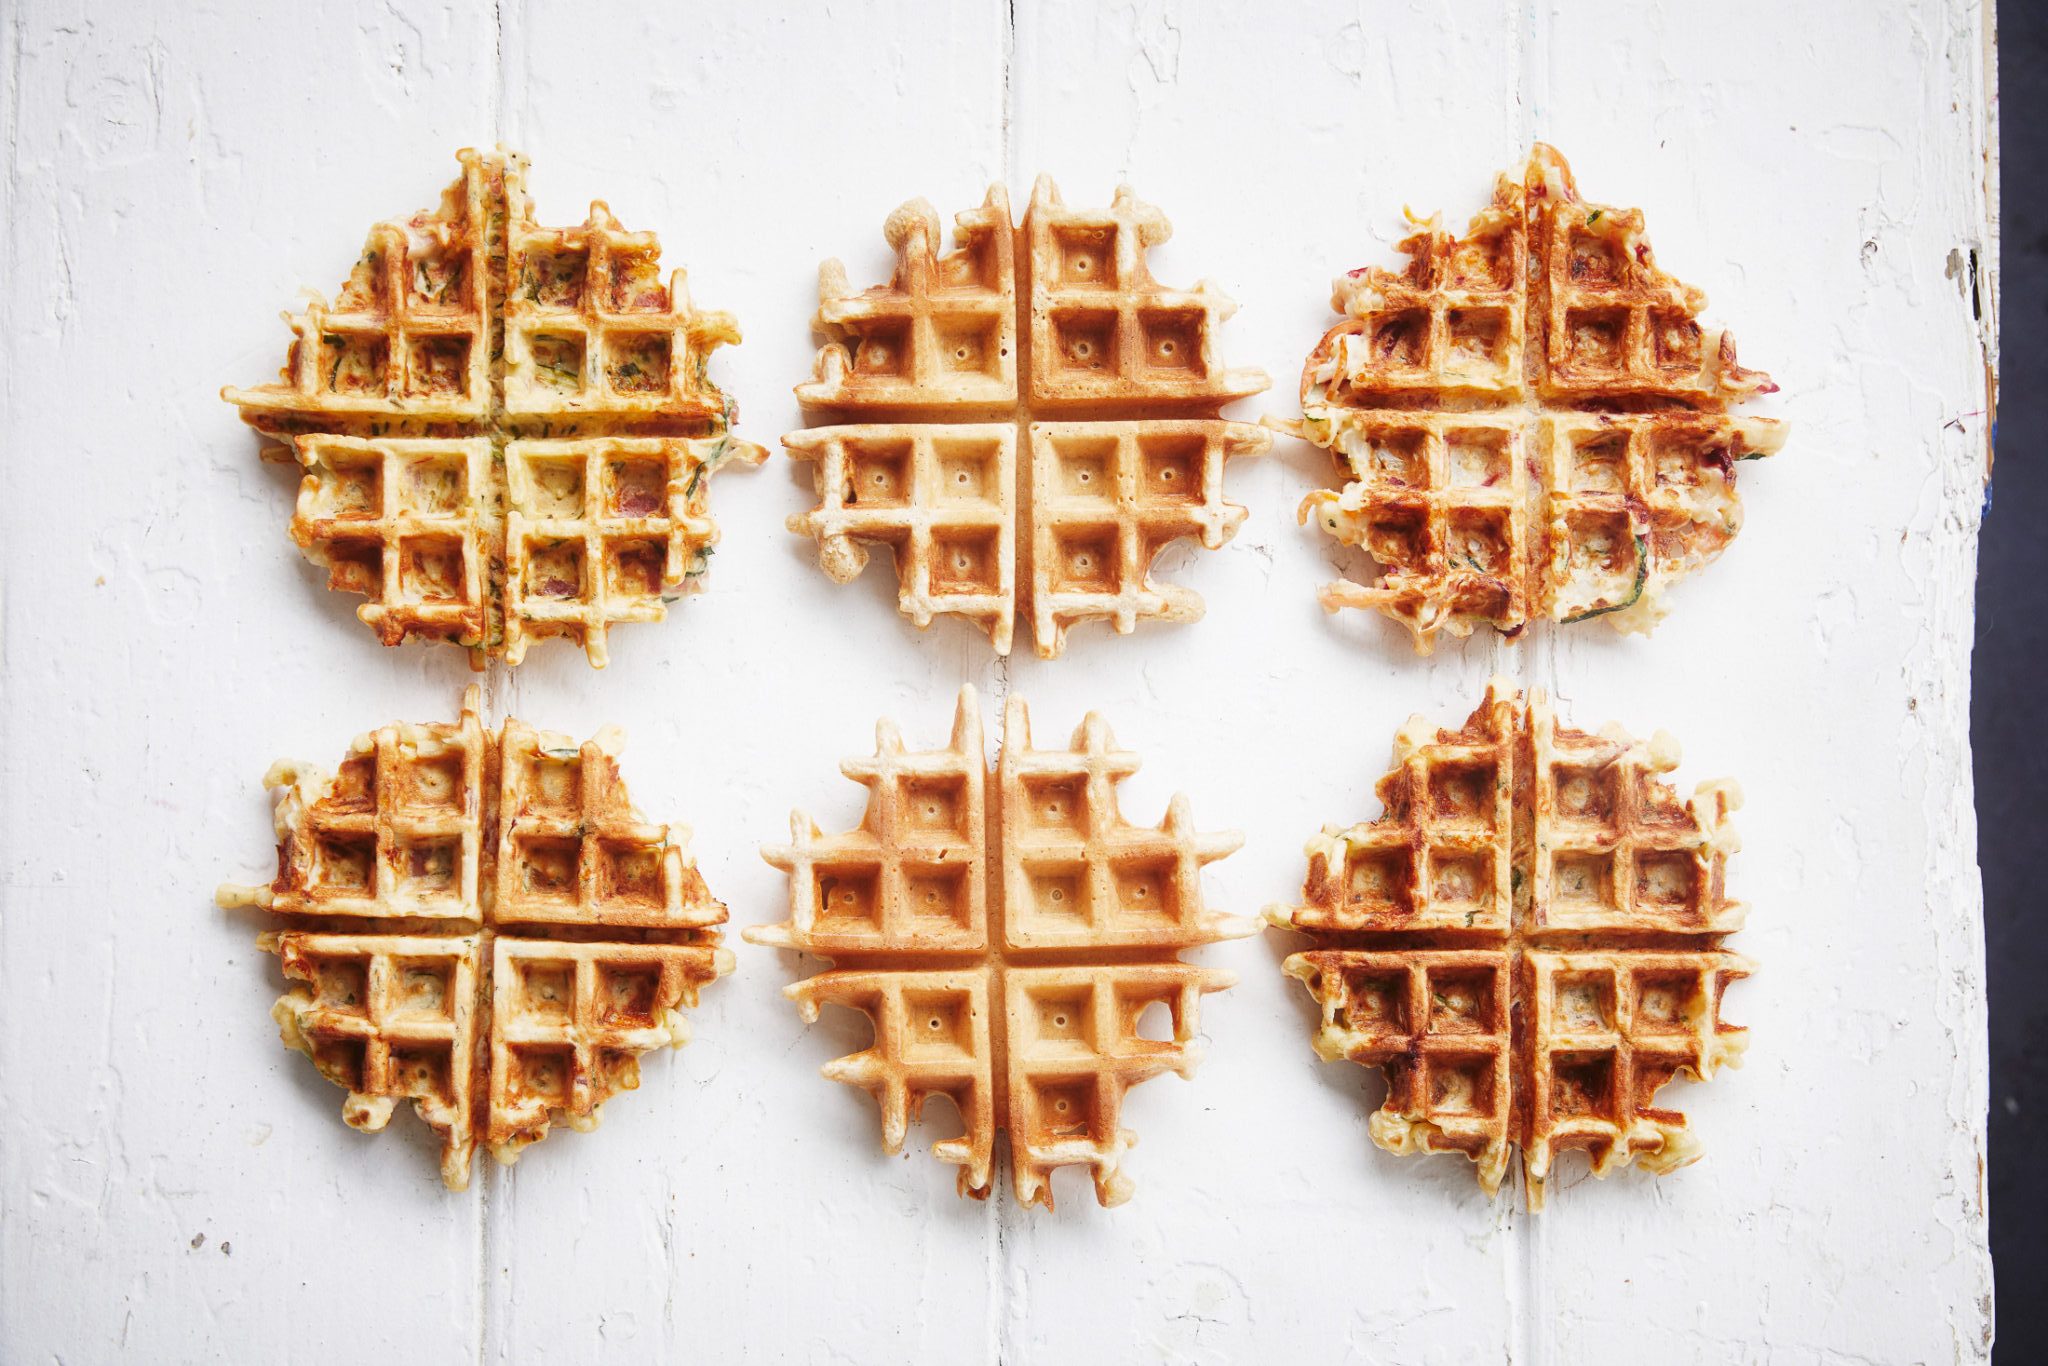
It’s what gives sourdough bread its distinct flavor and gives it its light fluffy texture. It’s what is what makes sourdough bread rise. Sourdough starter can be used for so much more than just bread. you can make pancakes, waffles, crumpets, and even cakes.
Bondi Harvest Sourdough At Home
Welcome to the Bondi Harvest step-by-step guide to making your sourdough starter, I’ve simplified the process to make it approachable and easy for you at home. Known by many names including sourdough culture, a sourdough starter, or natural yeast baking it down it’s just a simple mixture of flour and water which acts as a natural leavening agent. Wild yeast is present in all flour, in the air, in our water, it’s all around us and a starter is a way of capturing and growing that yeast in a form that can be used to bake with.
The sourness in sourdough comes from these magical bacteria that grow alongside the yeast in the starter, as your sourdough starter gets older (yes older) the wild yeast and bacteria develop and get ‘stronger’ both in flavor and ability to rise and make gorgeous bread.
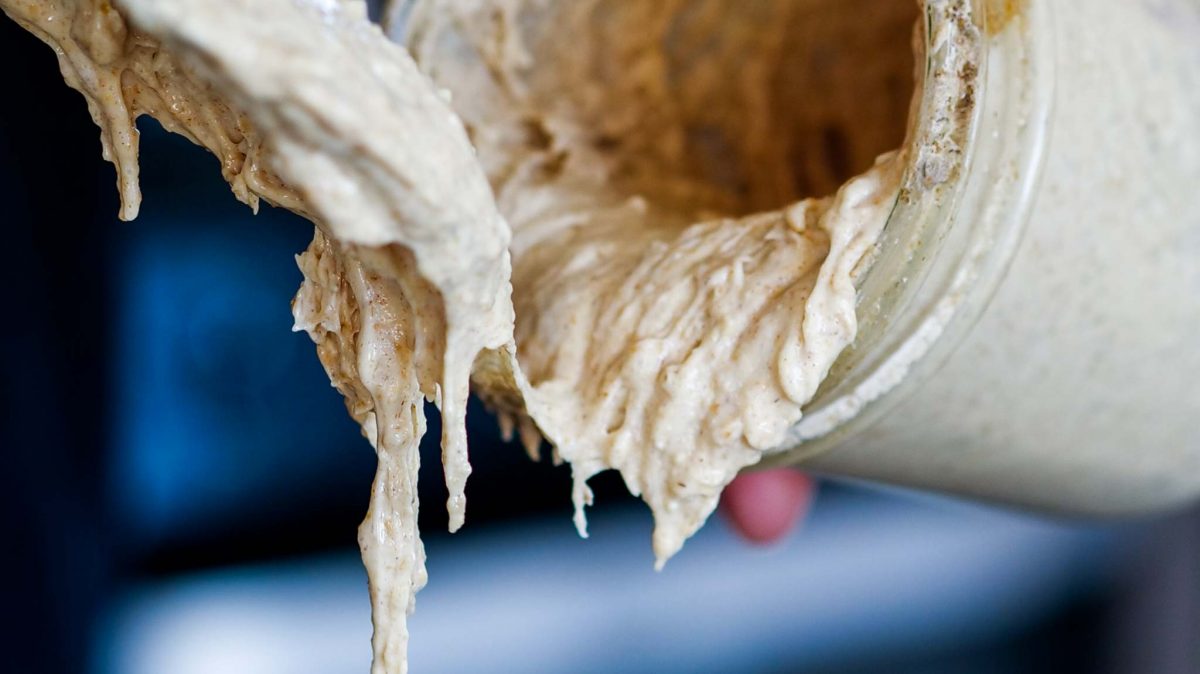
Making a sourdough starter is a simple, fun, and educational process of combining flour and water. Creating a starter is working with live culture and organism that needs to be cared for, fed, and managed to keep it alive and to get the best result. Feeding your starter is simply refreshed with more flour and water over a period to encourage the yeast to ferment and the bacteria to develop.
After each feed and once your starter is established it will grow and go through a cycle of bubbling up double its size, and then falling, and will take a similar time to complete this cycle if held at a consistent temperature.
If you have any questions leave them below or hit us up on Facebook or instagram

Serves 2
SHARE THIS RECIPE!

Sourdough Starter Ingredients
1 x 100g flour
1 x 100g water
4 x 50g flour
4 x 50g water
Instructions
Day 1 – In a non reactive container (plastic,glass) mix 1oog of flour and 100g a of water together until combined and smooth, cover the opening with some breathable cloth and secure using a rubber band or twine. Place on the kitchen bench and let sit for 24 hours to begin its fermentation process.
Day 2 (first feed) – Take down your starter and you might see a few little bubbles forming, this is good news it means the wild yeast has started work and form the starter. For the first feed remove and discard half of the starter from your chosen container, then add 1 x 50g flour & 1 x 50g water and mix well. Re-cover the jar with breathable cloth and secure using a rubber band or twine, place back on the kitchen bench for another 24 hours
Day 3 (second feed) – at this stage your starter should start to look active with some dotted bubbles on top, its should also be thick and gluggy consistency when you mix it. For the second feed remove and discard half of the starter from your chosen container, then add 1 x 50g flour & 1 x 50g water and mix well. Re-cover the jar with breathable cloth and secure using a rubber band or twine, place back on the kitchen bench for another 24 hours
Day 4 (third feed) – when you’re unto your fourth feed your starter should have doubled in size and have large bubbles throughout, it should also have a pleasant sweet, sour smell.
For the third feed remove and discard half of the starter from your chosen container, then add 1 x 50g flour & 1 x 50g water and mix well. Re-cover the jar with breathable cloth and secure using a rubber band or twine, place back on the kitchen bench for another 24 hours
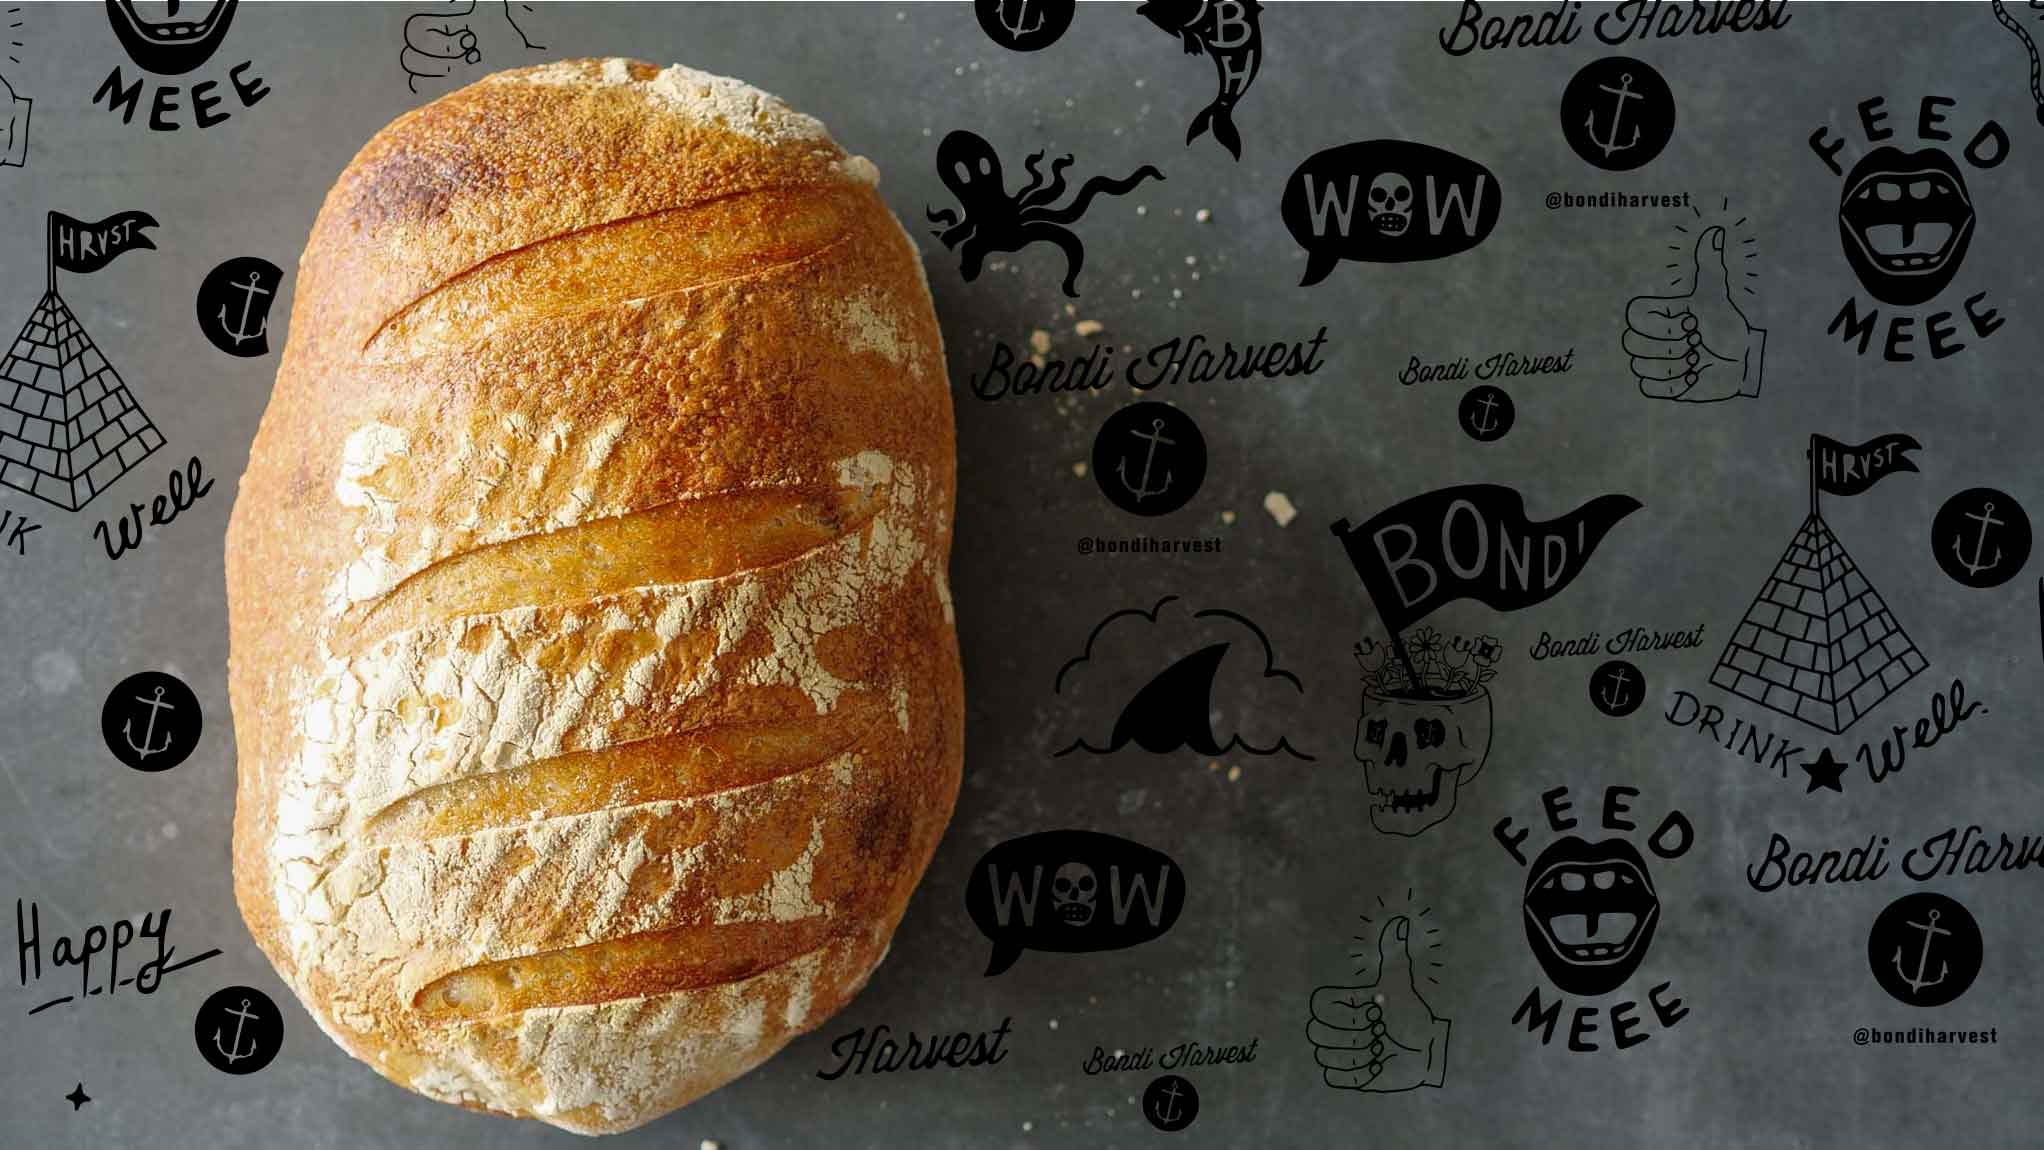
Day 5 – Your starter should be ready to use once it’s reached a fluffy, bubble and billowing, if it’s not there yet don’t stress it just needs a few more days and feeds to get there. Just continue the feeding process until starter is active.
Now your starter is looking sexy and activated just use it as per recipe and continue to feed it every day. If you no longer want to use your starter place it in the fridge with a tight lid, all you need to do is feed your starter once a week and re refrigerate .


Equipment:
- Glass jar
- Spoon for mixing
Bondi Harvest recipes use a conventional fan oven, measuring at Degrees Celsius °C.
Bondi Harvest recipe measurements use the Metric system.


Products
-
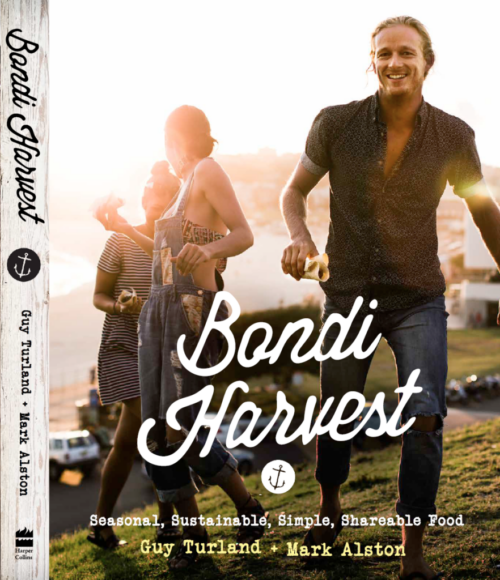 Bondi Harvest Cook Book
Original price was: $39.99.$32.75Current price is: $32.75.
Bondi Harvest Cook Book
Original price was: $39.99.$32.75Current price is: $32.75.
-
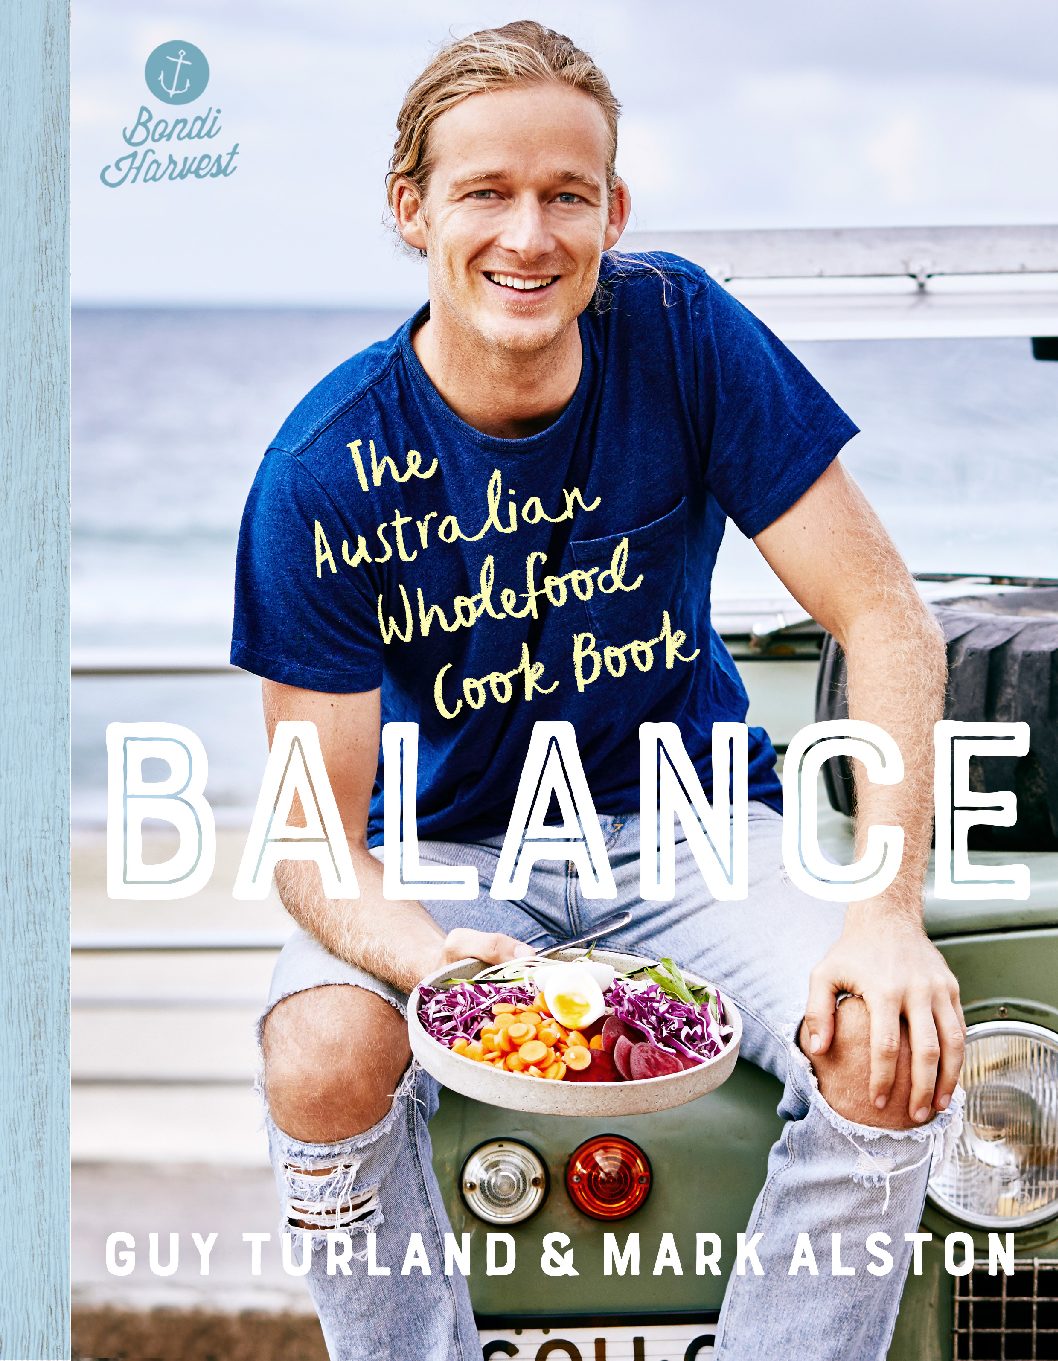 Bondi Harvest Balance Cook Book
Original price was: $30.99.$30.75Current price is: $30.75.
Bondi Harvest Balance Cook Book
Original price was: $30.99.$30.75Current price is: $30.75.
-
 Solid Teknics AUS-ION™ 30cm Frypan (Copy)
Original price was: $579.85.$549.95Current price is: $549.95.
Solid Teknics AUS-ION™ 30cm Frypan (Copy)
Original price was: $579.85.$549.95Current price is: $549.95.


Hey Food Lover!
Gain access to our new weekly recipes straight to your inbox and join our exclusive Food Lovers Facebook Group!