
THE BONDI HARVEST GUIDE TO KOMBUCHA TEA
THE BONDI HARVEST GUIDE TO KOMBUCHA TEA
Have you heard of Kombucha, or even seen it in health food shops or good cafes (like our Santa Monica Bondi Harvest cafe) and not known exactly what it is or why its so popular? Well this what this post is all about. We are going to walk you through not only what Kombucha is but how to make it.
Kombucha is a beverage the ancient Chinese called the “Immortal Health Elixir?” It’s been around for more than 2,000 years and has a rich anecdotal history of health benefits like preventing and fighting cancer, arthritis, and other degenerative diseases. Can I just repeat “anecdotal history”, while this beverage has 2,000 plus years of tradition behind it and an ardent and addicted following I don’t want anyone going off their meds after reading this! Anyway, where was I…
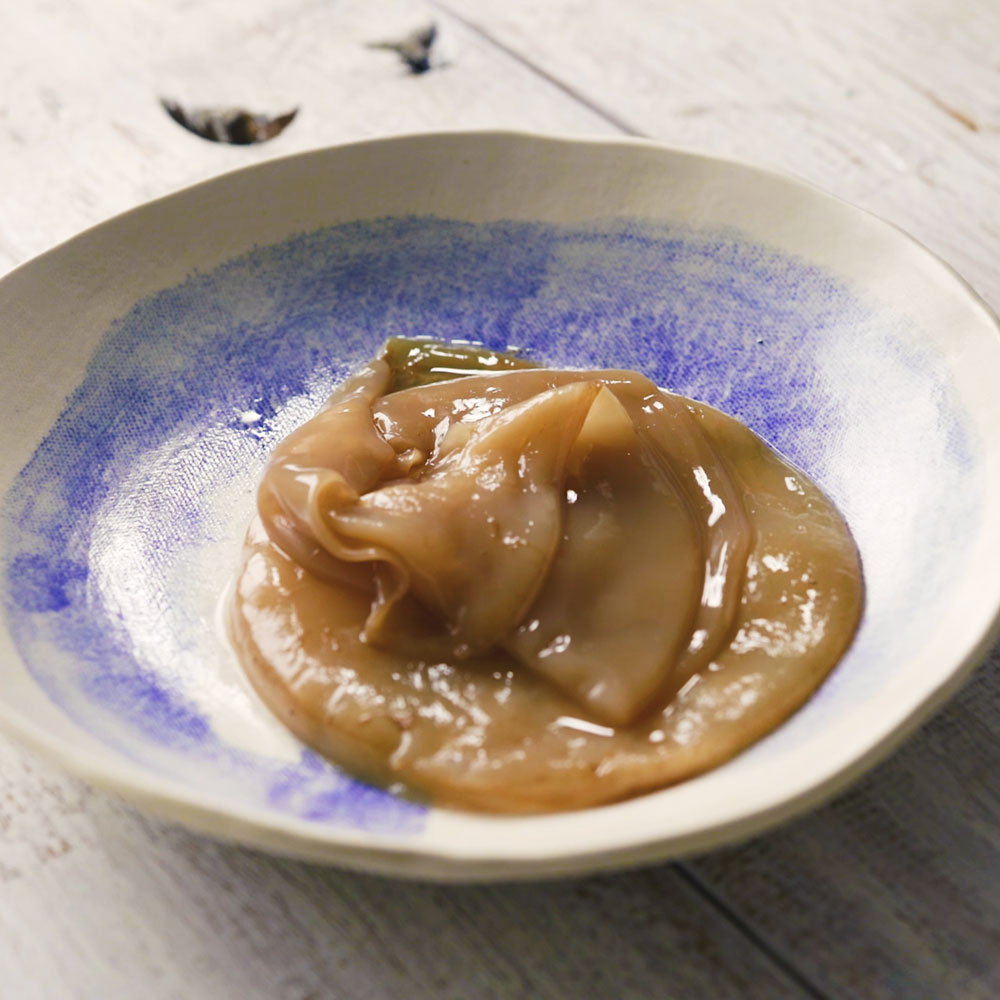
Kombucha is made from sweetened tea that’s been fermented by a symbiotic colony of bacteria and yeast (a SCOBY, or “mushroom” because of its appearance).

SO, HOW DO YOU MAKE IT?
The process of making Kombucha takes approximately 3-5 days for the first ferment and another 3 days for the second ferment. But that is assuming you have a SCOBY ready to go.
To make things simple I’m going to assume you have already got yourself a SCOBY. If you don’t have one there are lots of ways to get one including – ask a friend, go to a good health food store, or buy the SCOBY cultures online (see links below).
Before we begin…
EVERYONE will tell you something different. Making kombucha tea is just like making any other dish, there are hundreds of variations and recipes out there, each one somebody’s favourite. The important thing to remember is just relax – enjoy the process and experiment and see what works for you.
SO, HOW DO YOU MAKE IT?
To make things simple I’m going to assume you have already got yourself a SCOBY. If you don’t have one there are lots of ways to get one including – ask a friend, go to a good health food store, or buy the SCOBY cultures online (see links below).
Before we begin…
EVERYONE will tell you something different. Making kombucha tea is just like making any other dish, there are hundreds of variations and recipes out there, each one somebody’s favourite. The important thing to remember is just relax – enjoy the process and experiment and see what works for you.
Here is what you’re going to need:
First Ferment
2 litres of filter water
1 SCOBY
2 tbsp black tea
1 cup sugar
rind of 1 lime
1 vanilla bean
Large glass jar (approx. 2 litres)
1 tea towel
Second Ferment
Punnet of strawberries
1 vanilla bean
sealable glass jar or bottle.
FIRST FERMENT
Day 1 / Step 1: Make Sweetened Tea
Bring your water to the boil in a large saucepan. remove from the heat and allow to cool for a few minutes before adding your black tea, sugar and any other flavours. We added lime rind and vanilla bean. Allow this to steep for 5-7 minutes stirring until all sugar is dissolved.
Don’t stress about the refined sugar as it’s basically just food for the yeast. Strain your ingredients and allow the tea to cool to room temperature. This usually takes about 2 hours.
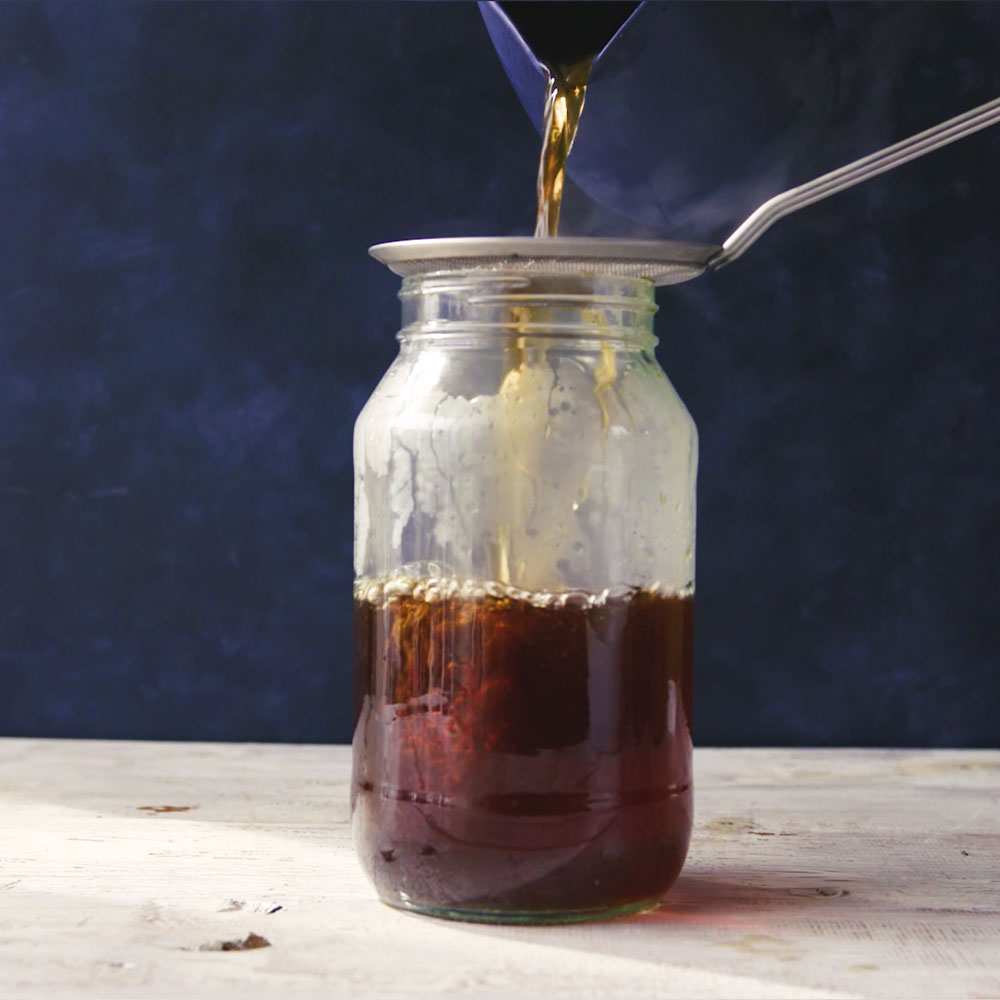
Day 1 / Step 2: Add the Kombucha SCOBY to the Sweetened Tea
Once tea is cooled down transfer to a glass jar. (The kombucha tea doesn’t brew as well in metal or plastic containers). Carefully place the kombucha SCOBY on top of the tea mixture.
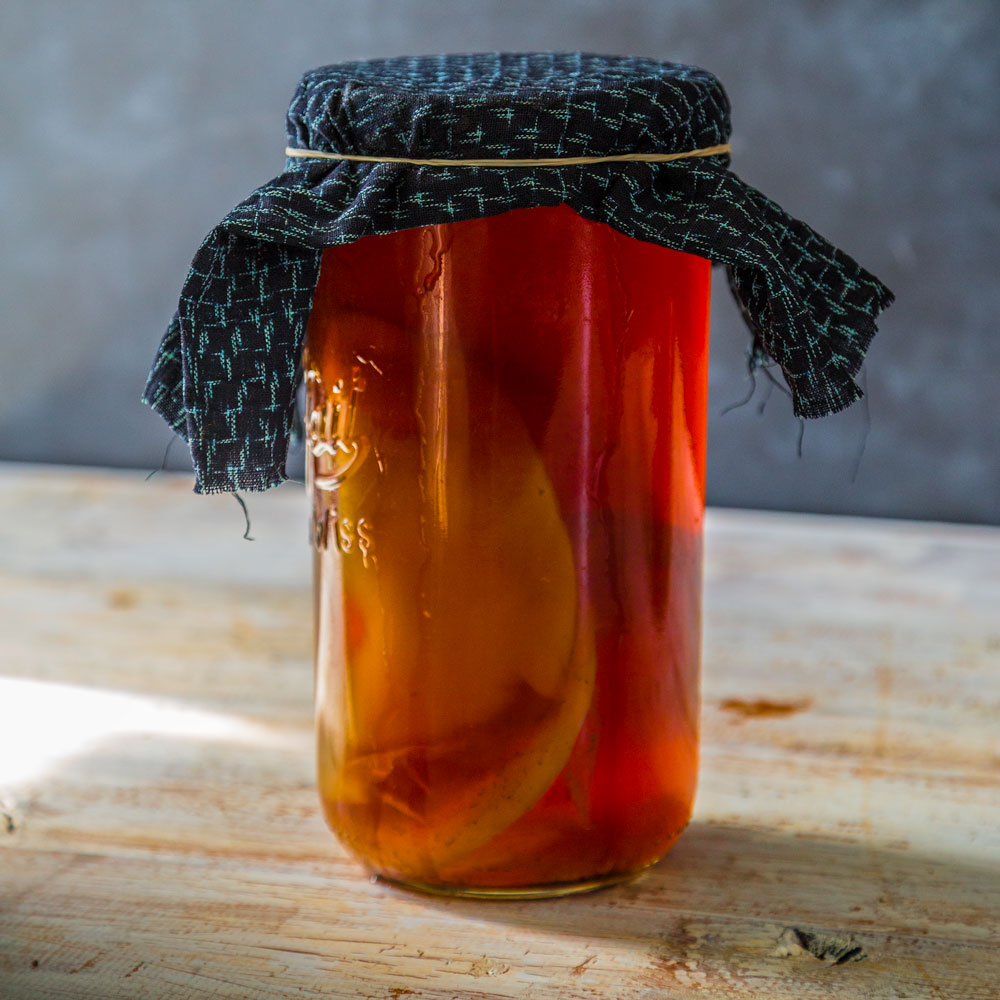
Cover your glass containers with a clean kitchen towel and place away from direct sunlight. I secure the towel with large rubber bands. The kombucha tea needs oxygen to ferment, so you’re using a towel rather than a lid to allow air to circulate. The rubber band secures the towel to keep out flies, insects, or other contaminants.
Days 1-5 / Step 3: Ferment Tea
Place you tea mixture in a dark corner of your kitchen for 5 days.
After 5 days your mixture will have turned cloudy and may have even began to form a new SCOBY on top of your brew. Remove your SCOBY and set aside in the spare jar with enough liquid to cover. Every other batch or so, you’ll be able to separate the old kombucha SCOBY (aka “mother”) from its “baby” which will have grown on top of the old SCOBY. (It may separate on its own, or you may just pull them apart.) When that happens, the baby will become the mother for your next batch of kombucha tea. The “old” mother can be passed on as a gift or discarded.
SECOND FERMENT
Day 5 / Step 1: Ferment with fruit
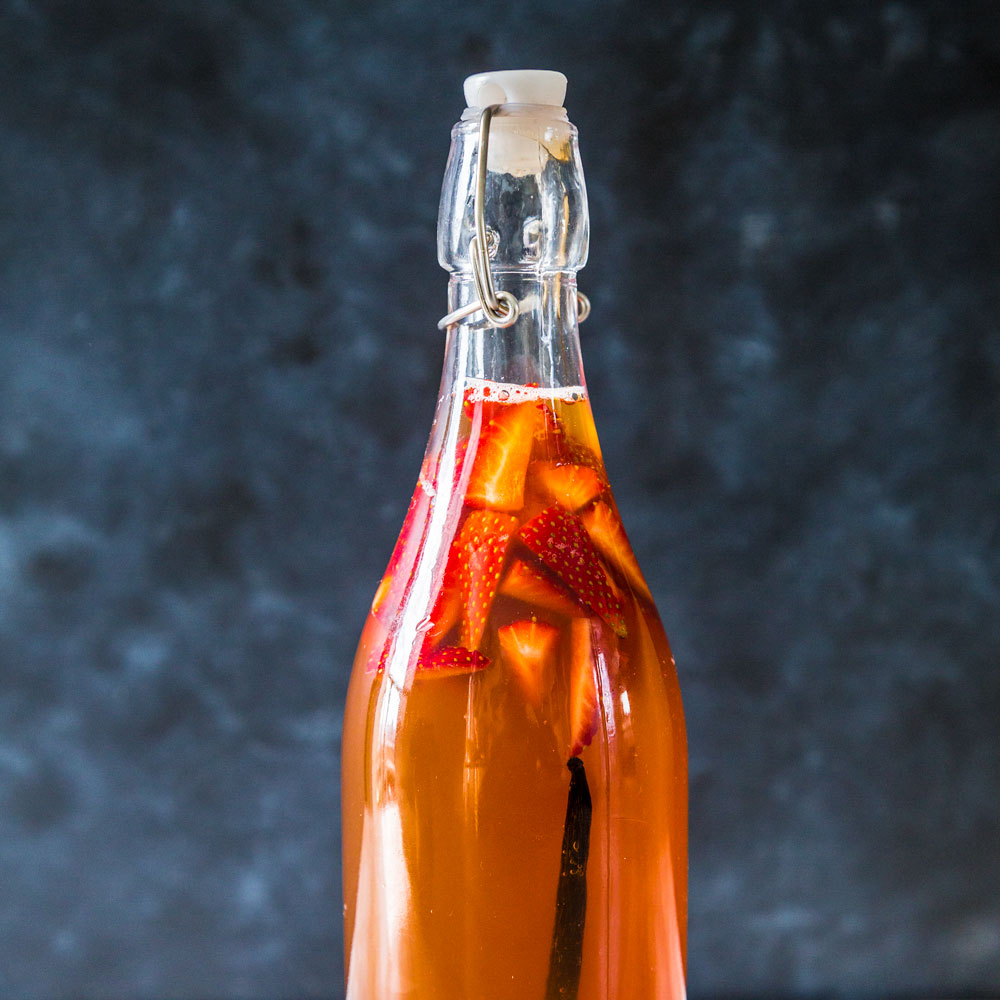
Cut your strawberries and deseed your vanilla bean into your sealable jar of bottle. You can use a good quality fruit juice as an alternative.
Pour you kombucha tea on top of the fruit, allowing some breathing room at the top of the bottle to allow for the pressure that will build as the liquid carbonates. Close bottle tightly.
Be sure to save at least 10% of your brewed kombucha to use with your saved SCOBY in your next batch. To ensure a consistent brew, I save about 25% of mine.
Place bottles back in a dark corner of your kitchen for 48 hours and cover with a kitchen towel so they avoid exposure to direct sunlight.
Day 5 / Step 2: Begin Your Next Batch
Repeat the process for Day 1, Step 1 & 2, and use the kombucha SCOBY you set aside earlier as the mother for this batch of kombucha tea.
Links:
http://www.sarahramsden.com/growing-a-kombucha-scoby
http://koalabarefoods.com.au/live-organic-kombucha-scoby-starter-tea/
SHARE THIS BLOG !
If you enjoyed this blog, why not join our mailing list to be regularly updated with cooking inspiration and updates on Guy’s adventures!